本文最后更新于:几秒前
不使用Javascript,如何实现选项卡效果呢?
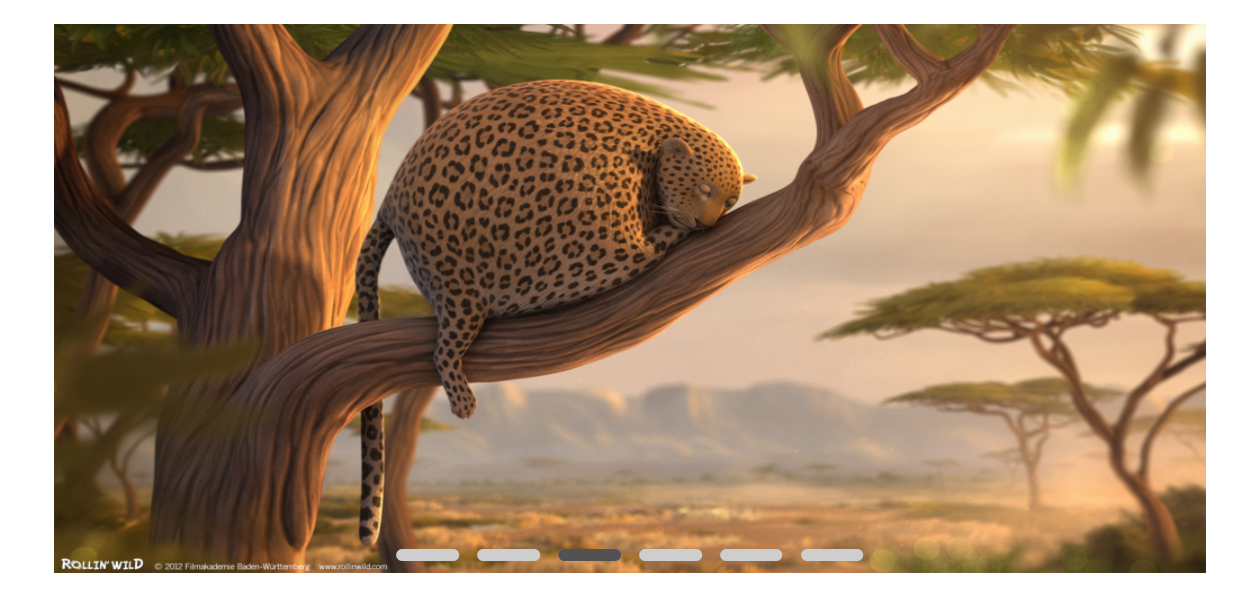
具体效果:

本文将不会使用到js,使用html+css完成所需效果。你可能会有疑问不使用js的情况下,怎么实现点击切换的效果?
首先我们要知道,单选框选项组是怎么写的
1
2
3
| <input type="radio" name="items" id="item1" value="1"/>
<input type="radio" name="items" id="item2" value="2"/>
<input type="radio" name="items" id="item3" value="3"/>
|
另外我们要知道一个非常重要的<label>的for属性
1
2
3
4
5
6
7
| <input type="radio" name="items" id="item1" value="1"/>
<input type="radio" name="items" id="item2" value="2"/>
<input type="radio" name="items" id="item3" value="3"/>
<label for="item1">choose item1</label>
<label for="item2">choose item2</label>
<label for="item3">choose item3</label>
|
点击相应的<label>相应的单选框将会被选中
有了它,我们就可以进一步发挥想象的空间 => 一个label相当于一个tab选项卡
然后就是我们选项卡的内容了,将每一个卡的内容视为一张卡片
我们把卡片叠到一起,只要其中一张不透明,其余卡片都透明就可以实现选择效果
如何实现透明度的切换,就需要利用到radio的checked这么一个CSS属性
剩余的浏览代码就可以明白啦
1
2
3
4
5
6
7
8
9
10
11
12
13
14
15
| <div id="swiper">
<input id="item1" type="radio" name="1" value="1" style="display: none;" checked/>
<input id="item2" type="radio" name="1" value="2" style="display: none;"/>
<input id="item3" type="radio" name="1" value="3" style="display: none;"/>
<div class="pic">
<img id="pic1" src="./images/w01.jpg">
<img id="pic2" src="./images/w02.jpg">
<img id="pic3" src="./images/w03.jpg">
<div class="pic-btn">
<label id="btn1" for="item1"></label>
<label id="btn2" for="item2"></label>
<label id="btn3" for="item3"></label>
</div>
</div>
</div>
|
1
2
3
4
5
6
7
8
9
10
11
12
13
14
15
16
17
18
19
20
21
22
23
24
25
26
27
28
29
30
31
32
33
34
35
36
37
38
39
40
41
42
43
44
45
46
47
48
49
50
51
52
53
54
55
| .pic img{
opacity: 0;
width: 100%;
height: 100%;
transition: all 0.6s;
position: absolute;
top: 0;
left: 0;
}
#item1:checked~.pic #pic1,
#item2:checked~.pic #pic2,
#item3:checked~.pic #pic3{
opacity: 1;//被选中的卡片透明度为1
transition: all 0.6s;
}
.pic-btn{
position: absolute;
bottom: 0;
left: 50%;
transform: translateX(-50%);
z-index: 1;
}
.pic-btn label{
width: 50px;
height: 10px;
background-color: #cecece;
display: inline-block;
margin: 5px;
border-radius: 10px;
}
.pic #btn1::before,
.pic #btn2::before,
.pic #btn3::before{
content: ' ';
width: 50px;
height: 10px;
background-color:rgba(0, 0, 0, 0.6);
z-index: 2;
position: absolute;
opacity: 0;
transition: all 0.6s;
border-radius: 10px;
}
#item1:checked~.pic #btn1::before,
#item2:checked~.pic #btn2::before,
#item3:checked~.pic #btn3::before{
opacity: 1;
transition: all 0.6s;
}
|
